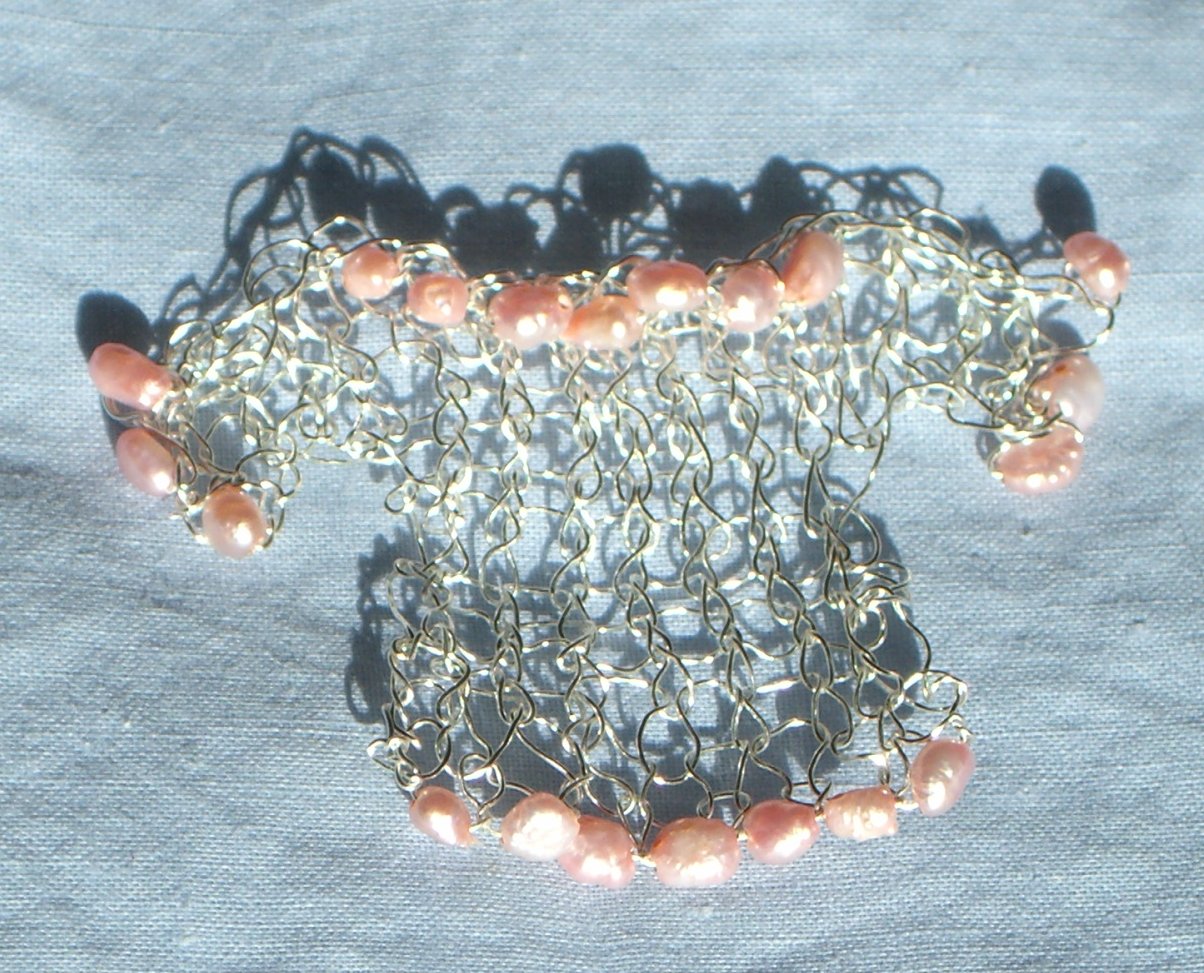
I don't know why the idea of knitting with wire and beads fascinates me so much, other than the finished project looks so cool. It kind of hurts my hands and dents up my needles. But it just looks so cool, that I had to try making a little sweater pin to attach to my knitting bag. I've also given one away as a gift.
 Name of Project:
 Mini Wire Sweater
Materials: Sterling Silver Wire and Freshwater Pearls
Needles: Size US 1 straight metal needles
Estimated Time to Complete Project: 1 hour
Pattern: I improvised this pattern as I went, just watching what looked the best and manipulating the wire with my hands.
To Cast-On:
I started with a slipknot on my needle. I pushed up a pearl, then using the backward loop method, cast-on another stitch. I repeated this until I had 7 pearls and 8 stitches on the needle.
The Body is worked in Stockinette:
Rows 1,3,5,7: Purl (WS)
Rows 2,4,6,8: Knit
Then without turning, using the backward loop method, cast-on 4 stitches
Turn, push up a pearl, and purl across. Cast on 4 more stitches.
*Turn, push up a pearl, and knit across. Turn, push up a pearl, and purl across. Repeat once more from *.
Turn, push up a pearl, Bind of 4 stitches.
*Bring wire to front as if to purl, push up pearl, purl next stitch, pass 1st stitch over to bind-off. Repeat from * 6 times. You'll have 7 pearls across the neckline. Bind off 4 remaining stitches. Cut and wind end of wire through to secure ends and use fingers to shape body, sleeves and neckline.
I used a coil-less safety pin to attach the pin, but you could also use a corsage or skirt pin.
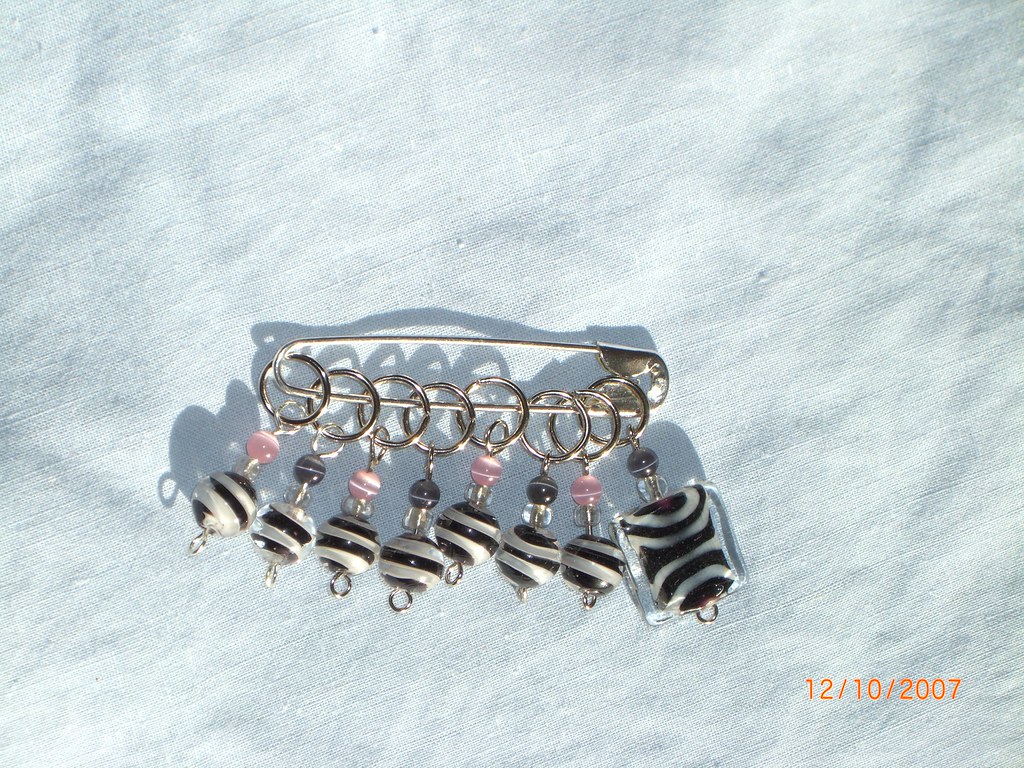 Okay, these were for me, but I don't know anyone else in my family that would appreciate Zebra print stitch markers as much as I do. I found the Zebra beads and thought I would make a necklace or something, but I'm going to start my Central Park Hoodie soon and so I thought I would make these to help inspire me. They have fiber optic beads at the top of the zebra beads.
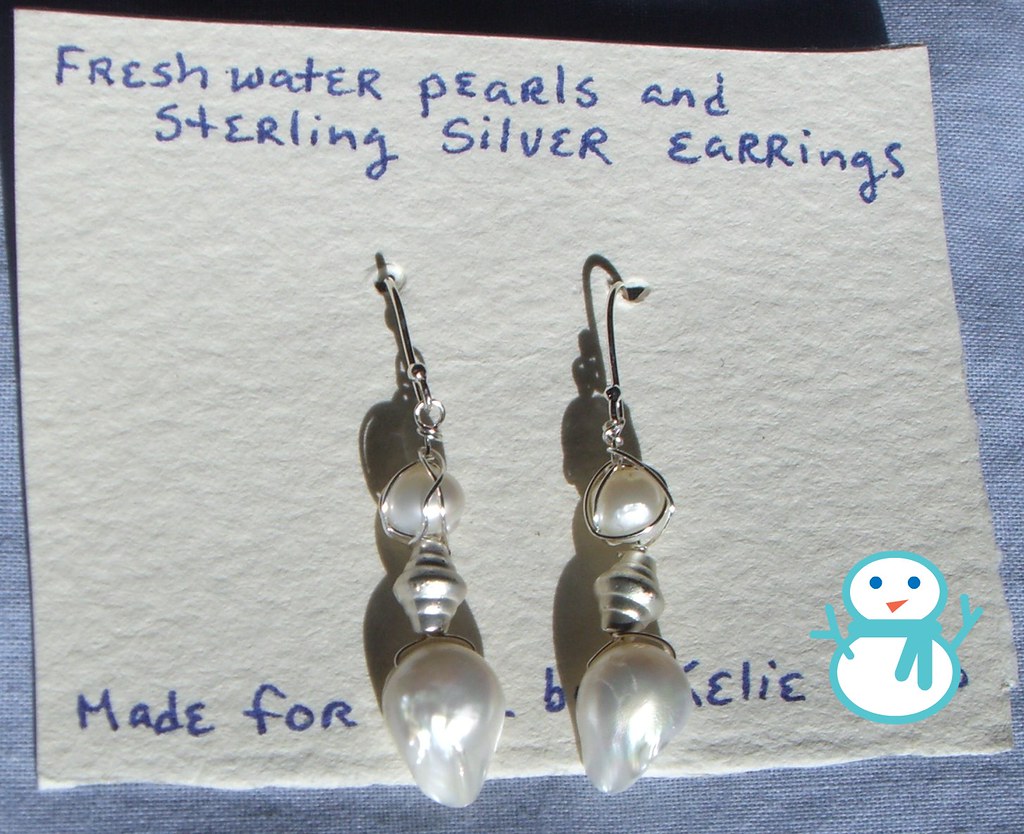 I made these Freshwater Pearl earrings for my mom and a friend's mom. I had a fun time making these because the beads pretty much do it for you. You can't really mess up beautiful pearls. They are pretty on their own.
 These are Black Freshwater pearls.
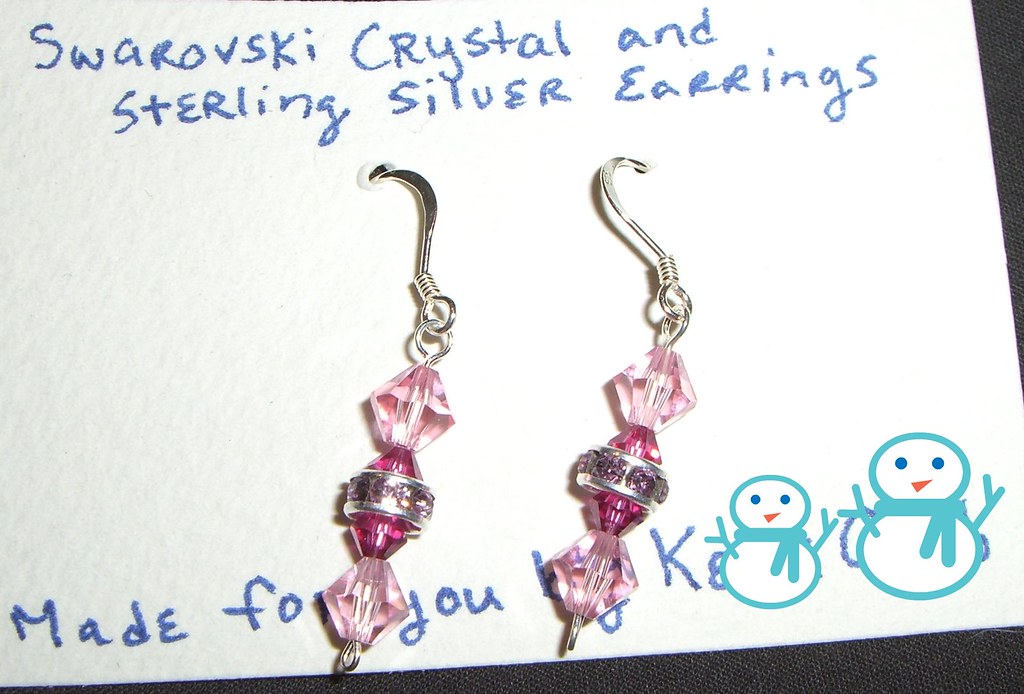 These were for my sister, which I wrapped inside of the pink purse I gave her. It is kind of hard to capture the rhinestones in the middle on camera but they are very sparkly and shiny in person. I also made green and blue ones for my other friends, but they didn't photograph very well at all.
 I made some for myself too. :)


 I've finished the start of the back and picked up to start down the front. I am loving the